Important Note:
You may need to enable pop-ups one or more times during this process. Please pay attention to your web browsers prompts if it asks you if you want to allow or enable pop-up's for this site. Please say yes so that you do not block any of the pop-up's as most of the steps in the process open new windows.
Step 1 - Login
This tutorial will start from the main CBOS/Econnections login window that you are taken to immediately after logging in. To login please go to https://tsys.ziftpay.com.
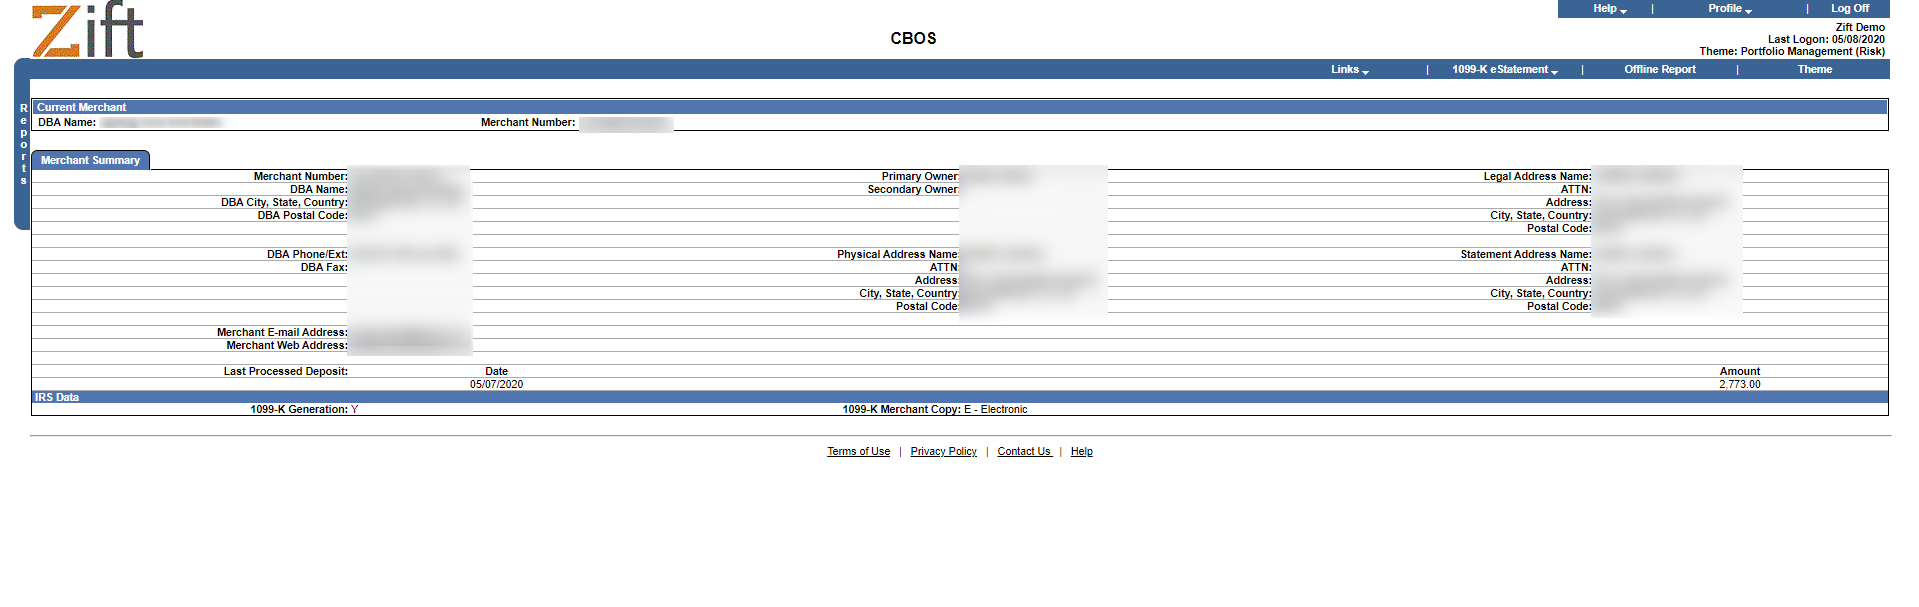
After login you should see a screen similar to the following:
If you have never logged into the portal before but have requested an account to be created please follow the step to login to your account for the first time following the instructions on the tutorial(https://zift-kb.groovehq.com/help/econnections-account-setup) and then return to this tutorial.
If you have never received a login please email support@ziftpay.com with a request for a portal user. Please include your business name, and merchant id. Once your user has been created please follow the instructions on tutorial(https://zift-kb.groovehq.com/help/econnections-account-setup) and then return to this tutorial.
Step 2 - Access Reports Menu
Hover over the vertical reports menu on the left hand side of the screen
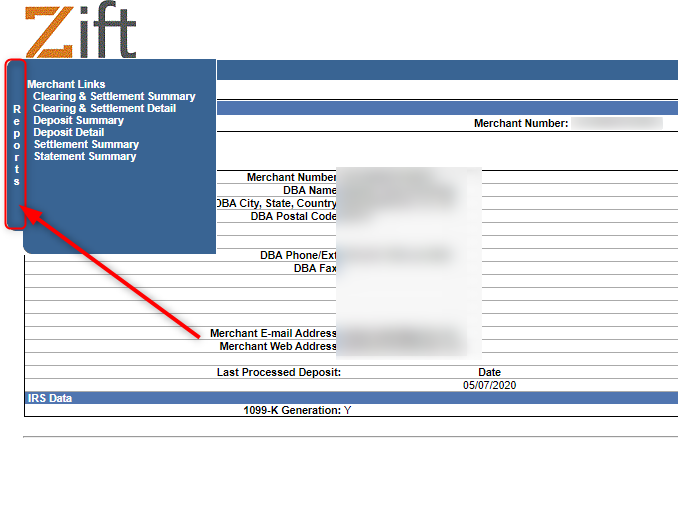
This should pop open the list of reports available within the menu
Step 3 - Select Statement Summary
Select the "Statement Summary" report on the Reports menu:
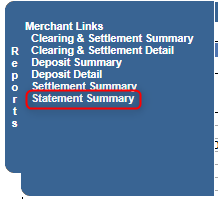
This will bring up a new window that should by default load all of the statements:

Step 4 - Select Statement for Download
If the statement you need is not on the default list loaded please change the filter at the top right of this window and click the refresh icon to reload the new range.
Otherwise if the statement you are looking for is on the list click the download icon on the left hand side.
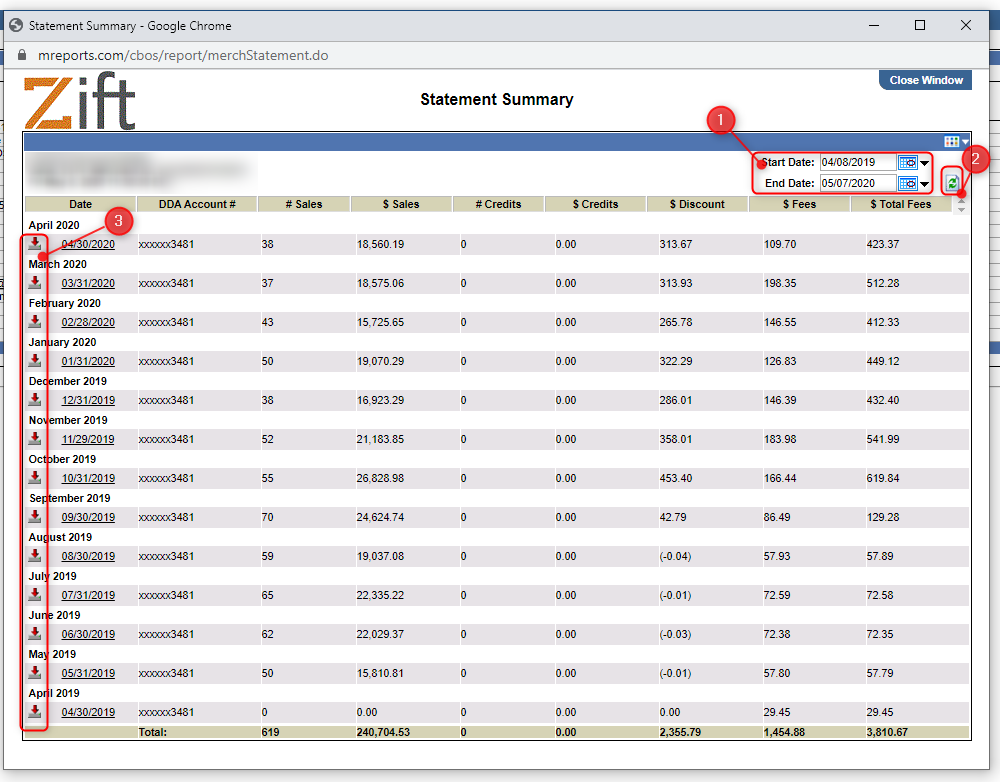
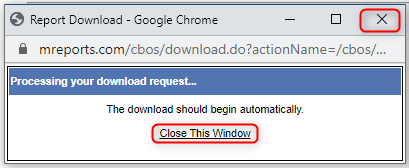
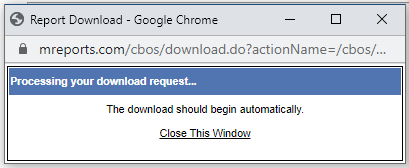
Once the download icon is selected for a particular statement it should immediately bring up a pop-up window:
Step 5 - Choose Save Location
This step may vary depending on if you are using a Mac or Windows device. This may also vary based on the browser you are using how your browser handles download requests.
You will need to be aware of how your browser and computer handles downloads. If you are not sure how they are being handled you may need to get assistance from someone in your office, or find instructions online.
We will share examples using a windows device and Google Chrome.
Shortly after the pop-up from the last step displays saying that your download should begin automatically, you should then see a window similar to:
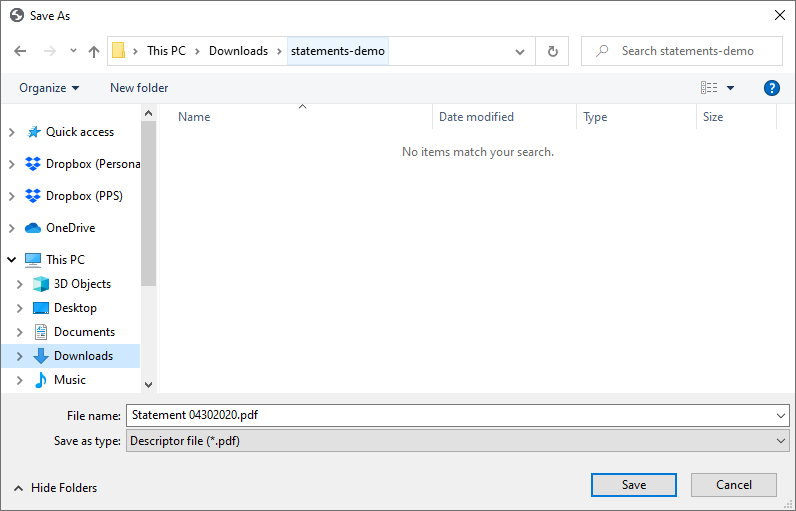
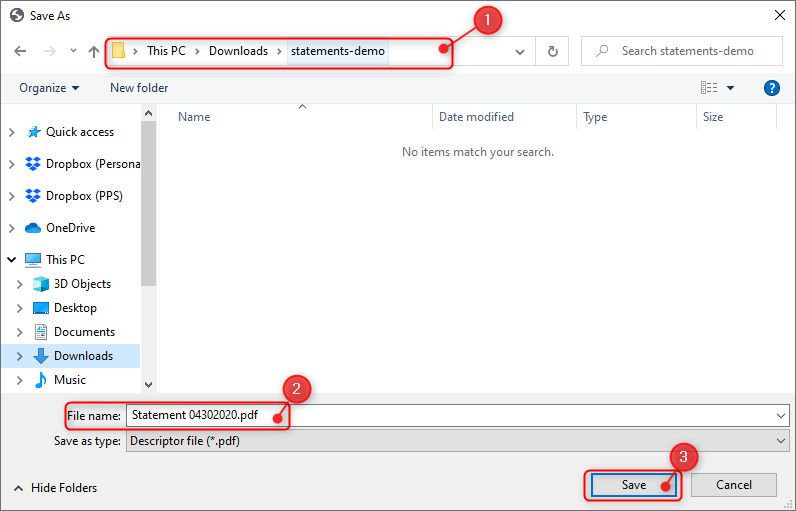
The location of this directory should be either your default download directory, or the last directory a download was saved to.
Change the location of the directory if needed.
Keep the name of the file, or rename it to something you would prefer.
Click "Save"
Step 6 - Close Download Pop-up
This step may be necessary if you need to download other statements. Otherwise you can just close.